tinylab Flashlight.
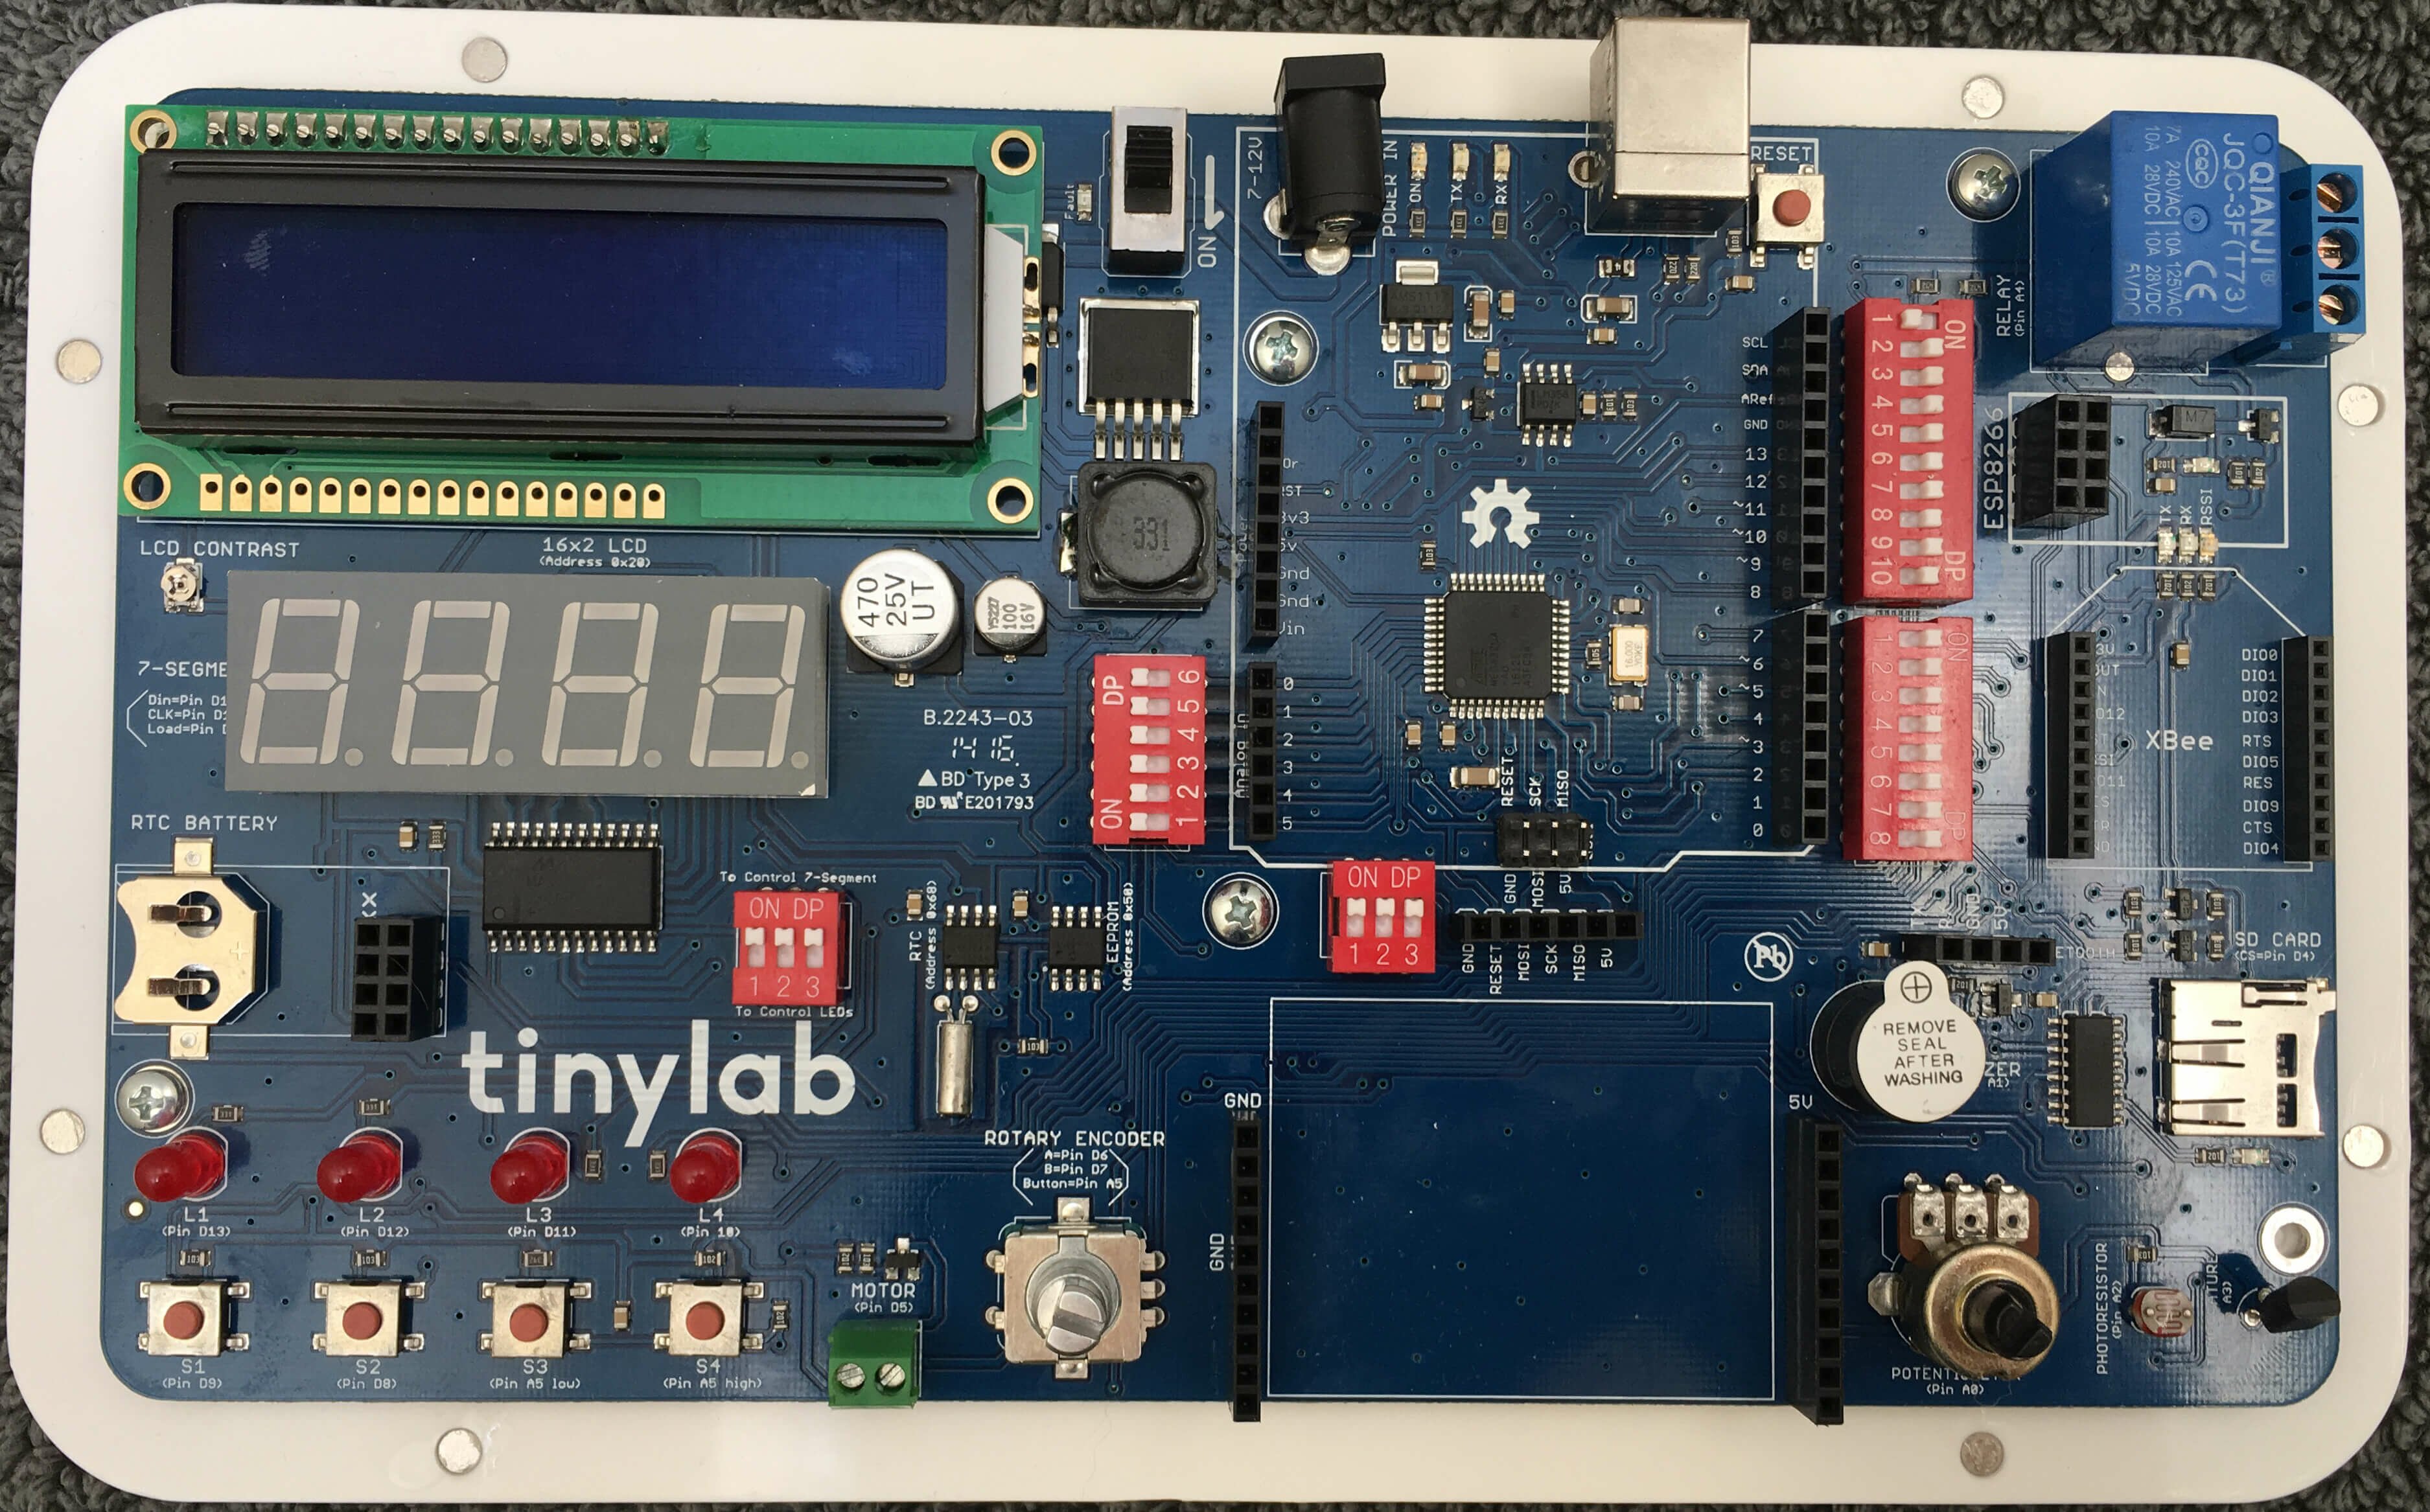
 I've been fiddling around with my - an all-in-one prototyping board with an embedded Leonardo and a fair selection of components. I'd already got it working with Node and Johnny-Five. Next I wanted to do something which demonstrated interaction between the software and some real-world conditions.
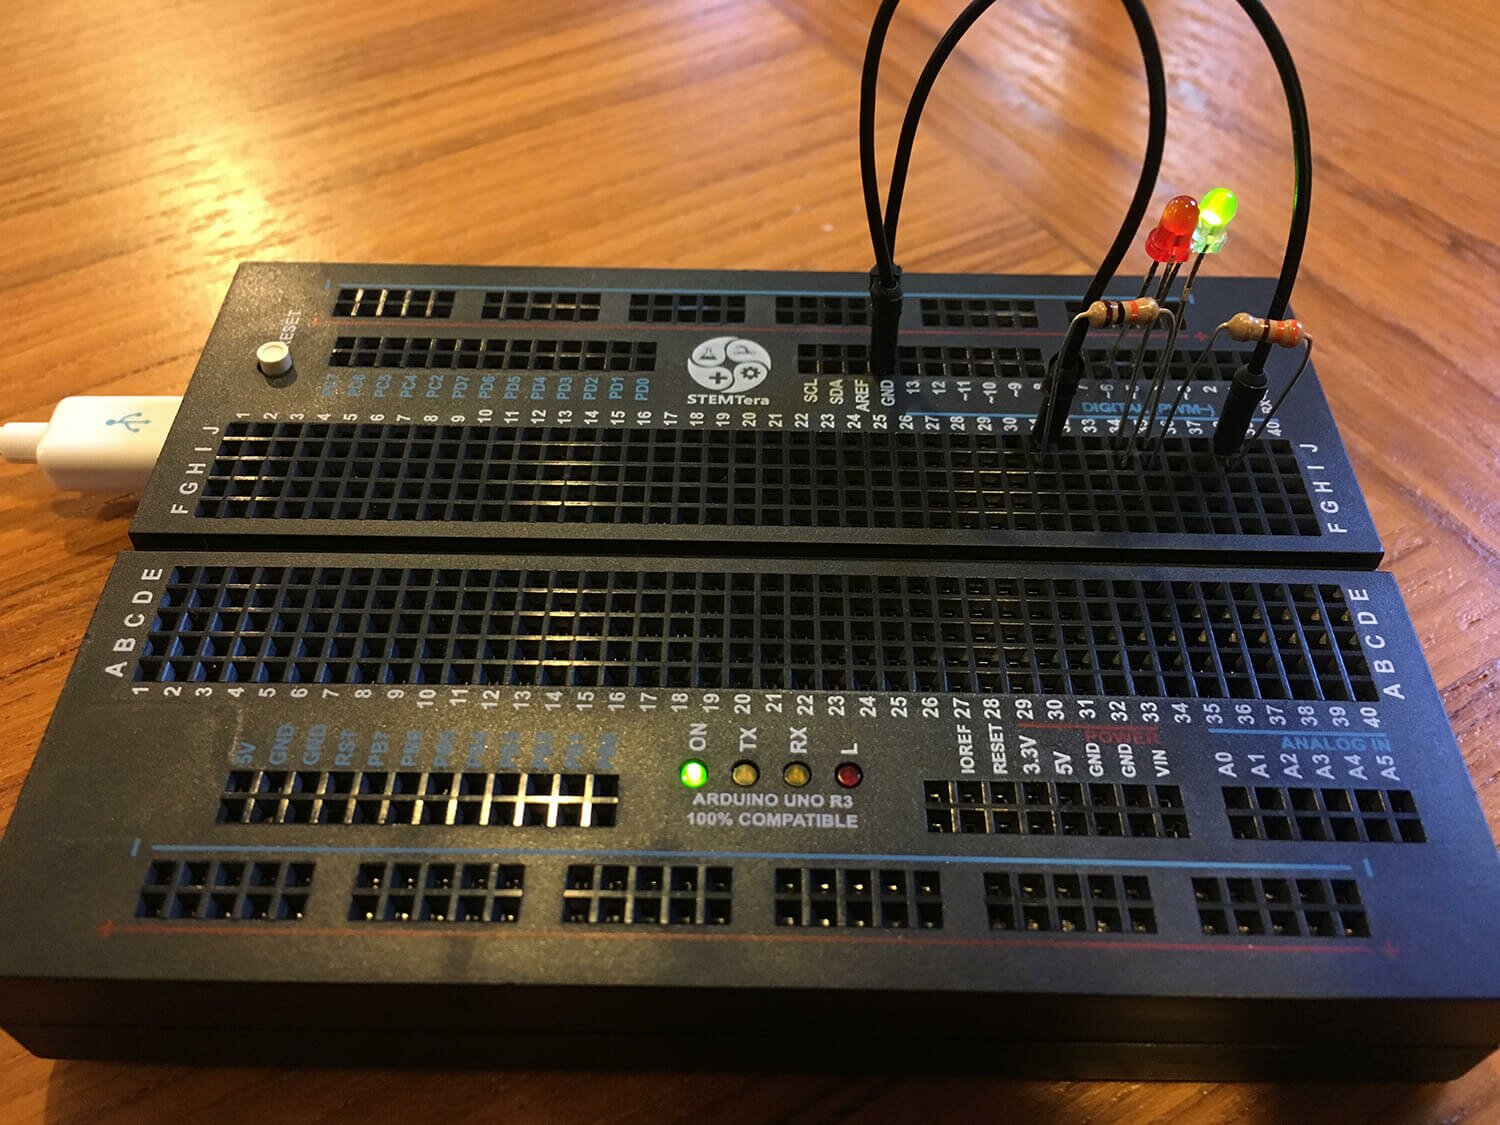
Note that my tinylab (perhaps because it's an early crowd-funded version) doesn't have the breadboard shown in the current production versions of the tinylab. No worries - a mini breadboard (without the connector tabs) fits in there perfectly.
I made a "flashlight" - where an LED gets brighter when the hardware detects less ambient light. Since all the components on the tinylab are already built in, I didn't have to do any wiring. It's pretty easy to test by covering the photoresistor with your finger. Here is the code:
var five = require("johnny-five"), board, photoresistor;
var board = new five.Board();

board.on("ready", function(){

  var led1 = new five.Led(10);

  photoresistor = new five.Sensor({
    pin: "A2",
    freq: 500 // Data is polled every half second
  });

  maxLight = 750 // Set this to the "high" value of light in your room.
  minLight = 250 // Set this to the "low" value of light in your room.
  lightRange = (maxLight - minLight) // Will change for different rooms.

  photoresistor.on("data", function() {

    currentLight = this.value;
    ledValue = (((currentLight - minLight) * 255) / lightRange);
    ledValue = Math.max(ledValue, 0);
    ledValue = Math.min(ledValue, 255);

    console.log("Photosensor: " + this.value + "     ledValue: " + ledValue);
    led1.fade(ledValue, 500); // Smooth transition of LED brightness

  });

});
You'll need to set the maxLight and minLight values for your environment.
With this experiment, you now have a way to read a value from your environment, report it to a computer, and act on it.
Permalink
Tags: code johnny-five maker node nodebots tinylab


