How to Choose Electronics Parts to Buy.
10.11.2018
Once you start imaging your own electronics projects, it can be confusing to figure out exactly what to buy. Both Sparkfun and Adafruit offer a huge selection of components and boards, but how can you know they'll work with your project?
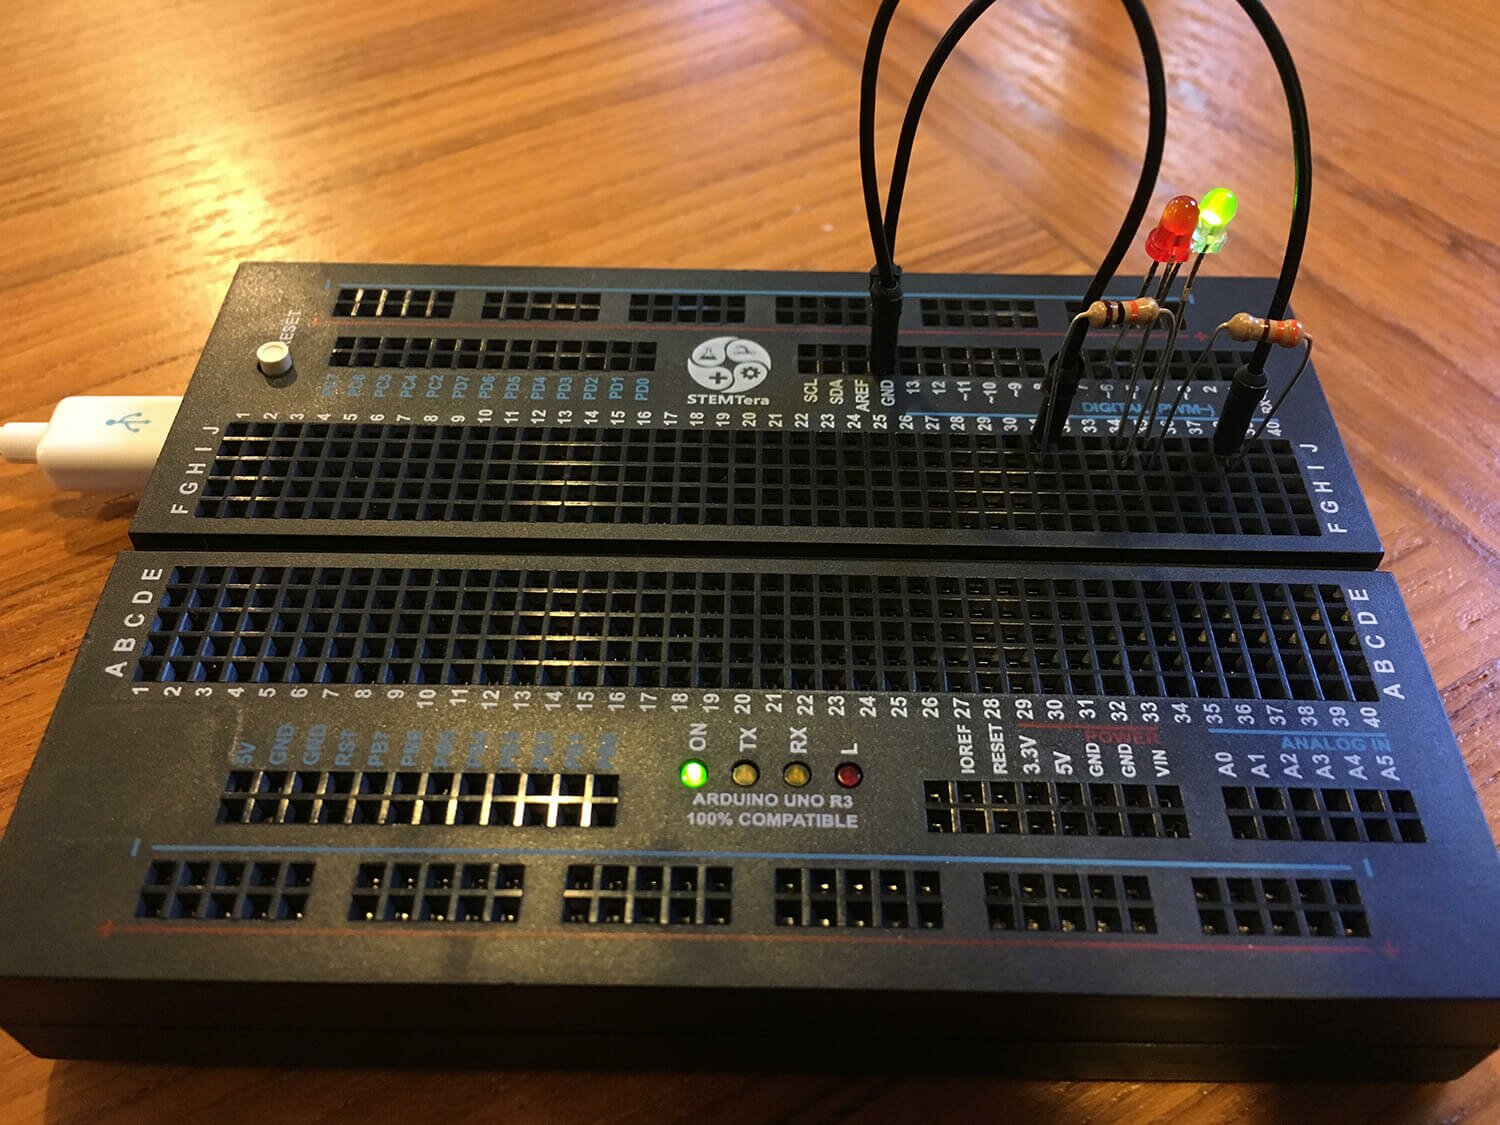
Here's what I do - check the Johnny-Five examples. I browse through all of the parts and pick from there. That way, I know that J5 has support for that component. As a bonus, all the examples come with wiring diagrams, so you know how to hook up the new part. This will work for simplish builds, and it's worked for me so far.
With our professional B2B web design services, your business gets a site that combines sleek visuals with performance-driven functionality.
9.7.2018
Sometimes I like to put a design on both sides of my Glowforge pieces. Here's a quick and dirty way to do it.
First off, your cut line for the piece has to be symmetrical. To fudge this in a shape that's only kinda symmetrical in Illustrator, here's what I do:
- Select the outermost shape (your original cut line) with the Selection Tool (v).
- Copy and paste it, right in place. It might not look like it, but you should have two shapes right on top of each other now.
- Use the menus to select Object > Transform > Reflect. Select an axis (probably vertical) and click OK.
- Open the Pathfinder tool window: Window > Pathfinder. (I've found this easier to work with than the Object > Path > Join options.) Under Shape Modes, click the first set of boxes (Unite).
- Done! You should have a new symmetrical cut-line which is large enough to enclose the rest of your piece.
Once you've got the artwork settled, you're on to the Glowforge UI:
- Set up your engraves, scores and cuts as you normally would. It'll be very convenient for you to have the outer cuts in just one color (a single instruction group in the GFUI).
- Laser! (Run the Glowforge.)
- Now get some double-sided tape (aka poster tape) and wrap a bit around your favorite finger.
- Hold down the original material in the GF (or use some kind of jig) to prevent it from moving.
- Use your tape finger to poke each cut piece out and then flip it over, right inside its original hole.
- In the GFUI, turn off all the cut-lines. Then turn on whatever you want to engrave on the second side.
- Laser!
So there. That's the secret - symmetrical cuts and double-sided tape.
7.30.2018
As I've been searching for assets to support my laser-cutting endeavors, I've become quite irritated with Pinterest results which are lists of unrelated stuff. Fortunately, Google offers some solutions:
First off, you can exclude a site from the search results. Just use this for your search: plant vine svg -pinterest.com That will search for plant vine svgs, but not show you any results from Pinterest. The trick is putting the dash/negative sign just before pinterest.com.
Of course, this can exclude any site from search results. If one was so inclined, one could edit certain bookmarks on others' computers to remove, say Fox News for example. Just in case you're visiting your parents' house, for example.
Second, you can force any keyword in your search results with something like this: plant vine "svg" That will only show results with the keyword "svg" in the results. The trick is putting that keyword in quotes. In my specific case, it tends to show results with that file in them, but often times they're for sale.
Happy searching!
6.22.2018

I've had my Glowforge laser cutter for several months now and I've made some things that I'm really quite happy about. Someone recently asked me what I wish I'd known before I got the Glowforge, and I figured I'd expand those thoughts here.
I already knew this, but just so you also know: the Glowforge requires an internet connection to work, and it's not open-sourced. The on-line interface and catalog work very well, and make a lot of sense for both the user and manufacturer. But, if you're the type of person who needs to control the hardware themselves, the Glowforge probably isn't for you.
The Glowforge fits really well on this . I spent really quite a lot of time searching on-line for a lot of workbenches that I didn't buy. Ooooooh, now the table comes with a lower shelf.
If you like prototyping on cardboard, get yourself a cutting mat and box cutter to make cutting that cardboard down to size a lot easier.
Gorilla Tape is really great for removing the protective paper from Glowforge's Proofgrade materials. Wrap a loop of tape sticky side out, around your hand, and press the cut pieces into the the tape. Pull the tape off the cut piece, and voilà, the protective paper peels right off.
For the most accurate material-to-cut alignment, place the material as close to center of bed (that's where the camera is) as possible.
A "No Artwork" error in the Glowforge online UI can mean "artwork doesn't fit in laser-able area."
I'm new to vector design software, and so I did a bit of playing around to figure out what worked best for me. Sketch (OSX only) is quite good, and Inkscape (Windows, OSX and Linus) is surprisingly good for free (open-source) software. But I'm most comfortable using Adobe Illustrator, probably because of my previous experience with Photoshop. For bonus points, it's available for both OXS and Windows, and it comes with a Creative Cloud subscription.
If you're considering buying a Glowforge (they're shipping now, you should get it in just 2 weeks), please consider using my referral code: https://glowforge.us/kyt1Ui. You'll save some money and I'll get some money.
5.16.2018
While severely belated, I wanted to take a bit of time to talk about a really nifty project that I learned about at last October. In her talk "Architecture as Text (AWS Easy Mode)", talked about .architect - an open source project which handles provisioning of AWS / Lamda servers through the `.arc` file - a plaintext manifest file. The most amazing and wonderful fact is that with .architect in Angelina's demo, the servers were provisioned faster than DNS propagation.
Also of note, she's got a great definition for "Serverless": Functions (the var func = new Function(arg){} kind) as a service, not a web server. Abstract away the notion of a server altogether.
For more info on .architect, definitely , or the website at https://arc.codes/.
4.23.2018
I've done the job search thing a few times, and one of the first places I start is with LinkedIn. It's how I found my last job. Here are a number of hopefully useful tips that I've picked up over the years stemming from my own discoveries to advice from professional job search advisors.
- Copy and paste most of your content over from your resume. You can even use LinkedIn as extra space for stuff that doesn't fit on your 2-page resume.
- Connections are important; they're how you widen the net of people who can search for you. So do make connections with folks that you've met in your professional dealings. You don't have to accept every request that you receive. I skip those "LIONs" (LinkedIn Open Networkers), and folks I've actually never met. (Unless it's a recruiter working for a company I'm interested in.)
- Always personalize the connection request. Remind the person how they know you.
- Keep those email addresses from old jobs tied to your LinkedIn account, and verify them.
- When you start a new job, connect with your co-workers. They will later become your past co-workers.
- When you leave an old job (or begin a new search), write a few recommendations about your previous co-workers. Hopefully they'll do the same for you.
- Fill in every profile field that LinkedIn asks you to.
- Log in once a day on weekdays. LinkedIn prioritizes active users in search results.
- Consider setting your current title or description blurb to include "currently seeking next opportunity".
- Follow companies that you're interested in. You'll be prioritized in their recruiters' search results.
- Look at people who work at those companies. What technologies and acronyms do they share? That's probably the company's development stack, which is what you should consider either featuring in your profile or learning.
- If you go to meetups, connect with recruiters you find at those meetups. (Recruiters will pretty much always accept a connection.)
Other links about job searches:
3.26.2018
Sublime Text - my favorite editor - will let you use a regular expression (regex) in its search and replace functionality. Here are some handy regexes that I've used in the past:


